


Support Manual / Added Integrations / Quickbooks POS
Step 1.
User should install the QuickBooks Web connector program on your local machine. And then to load special "qwc" file there. This file can be downloaded from WF member's area. Once that program establishes connection with WF server, user will be able to go to the next step.

Step 2.
On this step you're able to set mapping between WF product fields and QBPOS product fields, and also mapping between WF categories and QBPOS departments.
Field mappings:

It's importatnt to setup method of products identification here. That is the way to determine if some QBPOS product already exists in WF side or it's new and must be added there. To do this, you should map such fields which contain unique values and are required for items. Usually it's SKU field. But if you check the "Values of selected WF field are unique only within a category" checkbox, then uniqueness is required only within a category an item belongs to.
The "Load Custom Fields" command requests all custom product fields defined in QBPOS. After that you can map them with any WF item fields.
The "Use Grids for Products with the same [QBPOS identification field]" setting allows you to use WF inventory grid feature for such products.
WF categories can be mapped either to QBPOS departments or to some QBPOS custom product field.
Category mappings:
This page allows you to define what WF categories should correspond to what QBPOS departments.
The "Load Departments" command requests all existing departments in your QBPOS. Once they're loaded, you can set mappings. The "Automatically Create WF Categories when Mapping Not Specified" checkbox means that if you create new department in QBPOS but don't map it with some WF category, new WF category with the same name will be created automatically during the process of items synchronization.
Also you can define list of QBPOS deparments here whose products will not be imported into WF.
Step 3
Initial exporting of already existent products either from WF to QBPOS or from QBPOS to WF.
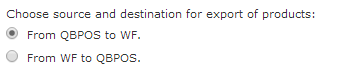
From QBPOS to WF:
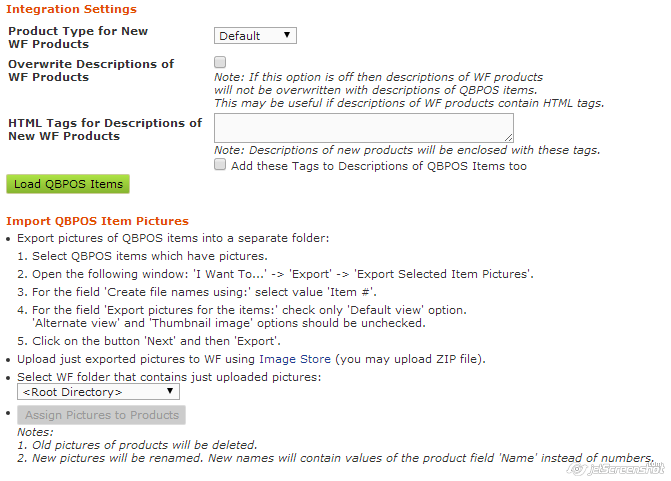
This step consists of two stages: loading QBPOS items into WF and importing images of QBPOS items into WF (and assigning them to just loaded products). Firstly you should run the "Load QBPOS Items" command.
Using the "Product Type for New WF Products" setting you can set default product type for new items which will be added during the import.
If the "Overwrite Descriptions of WF Products" checkbox is not checked, then description value of already existent WF products will not be overwritten with description of appropriate QBPOS item. It's done because QBPOS description field doesn't allow to use HTML formatting tags.
The "HTML Tags for Descriptions of New WF Products" setting allows you to specify only opened! HTML tags which will be used to generate description of new WF items.
For example, if you set the following value:
<b><i><font>
then new items will have the following description:
<b><i><font>[description value from QBPOS]</font></i></b>
If the "Add these Tags to Descriptions of QBPOS Items too" checkbox is checked, then description of QBPOS items will be updated as well (by enclosing with defined html tags) during the import process.
From WF to QBPOS:
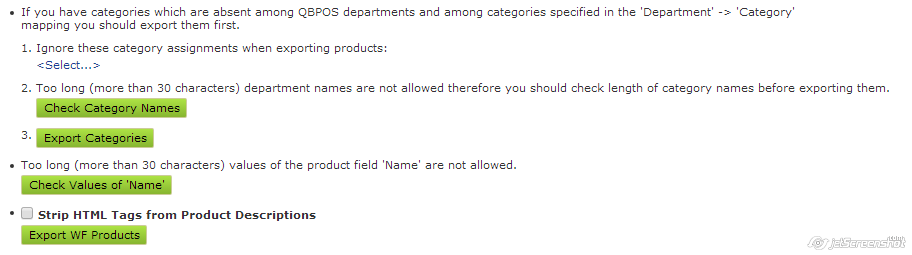
If you don't want to export WF products of some categories into QBPOS, you can select list of such categories (under the point 1) and appropriate products will be ignored during the export. Also, on this step you can export just WF categories into QBPOS (they will be added as new departments there). You should do it before exporting WF products.
If the "Strip HTML Tags from Product Descriptions" setting is on, description field of QBPOS items will contain only plain text (i.e. HTML formatting tags of description field of WF items will not be exported into QBPOS).
Step 4

Here you can export all your members into QBPOS. If you want to export only those members whose orders will be exported into QBPOS, then you should skip this step.
Step 5
This is the last step. And actually it means the synchronization process has started.
Now every request from QB Web Connector will make WF to implement the following commands:
- Downloading new or modified items from QBPOS to keep WF inventory up-to-date.
- Exporting new WF orders into QBPOS.
- Note: After canceling of some WF order, request to close corresponding QBPOS order will be sent automatically.
- Exporting new WF members into QBPOS.
Please pay attention to the first point. It means that QBPOS inventory has higher priority towards WF inventory. In other words, if you want to update QOH, price etc., you should edit QBPOS products but not WF products.
Here are the settings which are available when initial setup process is done:
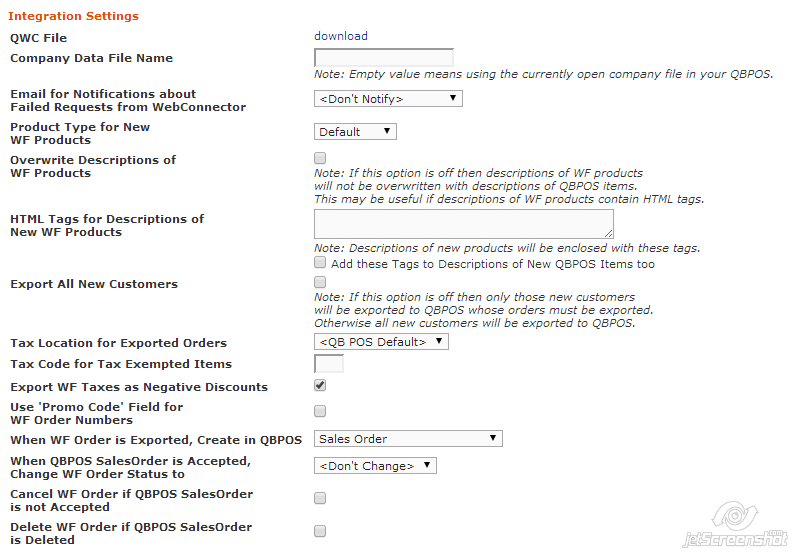
Descriptions of some settings:
"QWC File" - link to "qwc" file that allows you to establish connection between QB Web Connector program and WF sever.
"Company Data File Name" - company name which is used by your QBPOS.
"Email for Notifications about Failed Requests from WebConnector" - if set, any errors during synchronization process will be emailed to the given address.
"Export All New Customers" - if this checkbox is on, all WF members will be exported into QBPOS.
"Export WF Taxes as Negative Discounts" - if this setting is on, taxes amount of WF orders will be exported into QBPOS as negative discount (because QBPOS doesn't support separate record for taxes when creating new QBPOS order or receipt.
"Use 'Promo Code' Field for WF Order Numbers" - if it's on, WF order numbers will be exported into QBPOS order field: "Promo Code".
"Cancel WF Order if QBPOS SalesOrder is not Accepted" - if it's on then when you don't accept Sales Order on QBPOS side, appropriate WF order will be cancelled automatically.
"Delete WF Order if QBPOS SalesOrder is Deleted" - if it's on then when you delete Sales Order on QBPOS side, appropriate WF order will be deleted automatically.
If you are interested in getting this integration setup please contact Sales.
Signup below and we will email you once a month with a link to view new help articles

